Patchwork and Quilted Messenger Bag "Swan Lake". Photo Sewing Tutorial. Step by step DIY.
Since the back piece is smaller than the front one, I quilt the whole piece before I applique the flower.
Trim the whole piece, note the lining piece is supposed to be 3cm wider than the exterior piece to wrap the seam allowance later.
Size Bag: 12 cm width / 19 cm height / 16.5 cm thick.
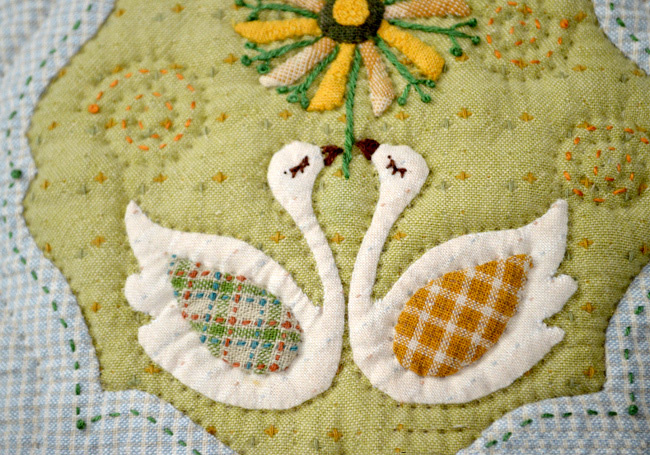
First, let's applique the design on the front piece.
The completed design on the front piece.
Applique side pieces.
Pin in place two angles.
Insert your needle from the front of the right angle and sew up the edge by back stitch.
Continue to stitch up from the left angle by the same way.
Fold the seam allowance and reinforce it with your fingernail.
Turn back to the front side and you can see a clean and neat seam.
Seam the next piece in the same way.
Seam up all the pieces in order.
Edgestitch the panel stripe on the back piece.
Edgestitch the panel stripe on the front piece.
When you attach the panel stripe on the main piece, leave 15cm from the top unstitched.
Quilt the side panel.
The whole size will shrink after the panel is quilted, please remark on the panel.
Stitch the main piece and the side panel together and align the two central points.
Stitch the side panel and the main piece together at the join points on the topside.
Assembled on one side
Note your seaming method (I seam the two pieces from the center point to the outside).
Trim the seam allowance (to 0.7cm).
Wrap the edge by the 3cm seam allowance of the backer.
Seam by vertical stitch.
The whole edge is wrapped.
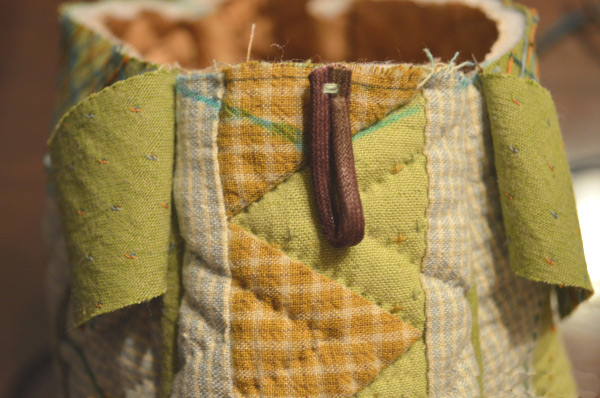
Sew up the hangers on both sides.
Sew up the hangers on both sides.
Sew up by vertical stitch on the wrong side.
Stitch the zipper along the edge.
Cover the ends of the zipper with two pieces of cloths (to make your bag look more perfect)
Finally completed!


какая прелесть
Post a Comment